Here’s the one-click guide:
Table of Contents
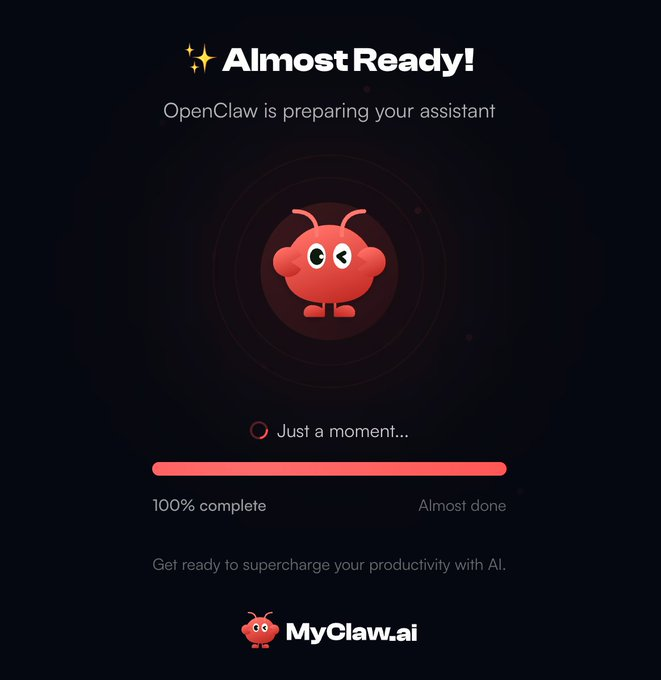
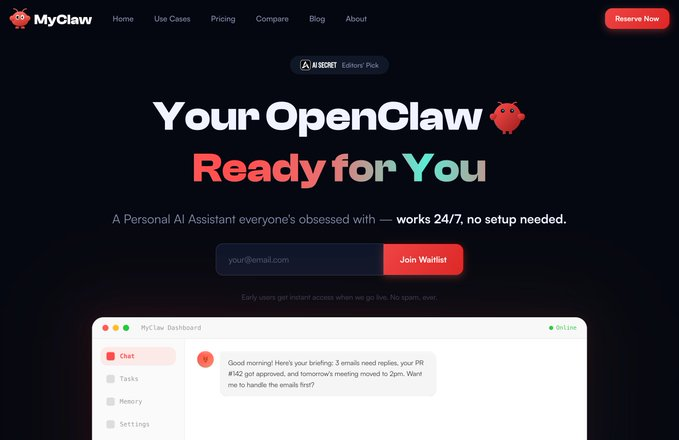
If you want to skip setup, use MyClaw.ai, It’s literally the easiest way to use OpenClaw. no setup, no tech, plug-and-play, online 24/7.
The manual setup guide:
Step 1: Install OpenClaw (copy–paste only)
Go to the OpenClaw GitHub page. You’ll see install instructions.
Just copy and paste them into your terminal.
That’s it. Don’t customize anything. If you can copy & paste, you can do this.
Step 2: Choose “Quick Start”
During OpenClaw setup will ask you a bunch of questions.
Do this:
- Choose Quick Start
- When asked about Telegram / WhatsApp / Discord → Skip
- Local setup = safer + simpler for beginners
You don’t want other people accessing your agent anyway.
Step 3: Pick Minimax (the free option) or Claude Opus 4.5 (the strongest one)
When it asks which model to use:
- Select Minimax 2.5
Why?
- It gives you 7 days free
- No API keys
- Nothing to configure
- Just works
You’ll be auto-enrolled in a free coding plan.
Step 4: Click “Allow” and open the Web UI
OpenClaw will install a gateway service (takes ~1–2 minutes).
When prompted:
- Click Allow
- Choose Open Web UI
A browser window opens automatically.
Step 5: Test it (this is the fun part)
In the chat box, type:
hey
If it replies — congrats. Your OpenClaw is online and working.
Try:
are you online?
You’ll see it respond instantly.
You’re done.
That’s it. Seriously.
You now have:
- A working OpenClaw
- Running locally
- Free
- No API keys
- No cloud setup
- No risk
This OpenClaw Setup is perfect for:
- First-time users
- Learning how OpenClaw behaves
- Testing automations
- Playing around safely
Common beginner questions
“Does this run when my laptop is off?” No. Local = laptop must be on.
“Can I run it 24/7 for free?” No. Nobody gives free 24/7 servers. That’s a paid VPS thing (Use MyClaw.ai ).
“Is this enough to learn OpenClaw?” Yes. More than enough.
“I don’t know tech or setup. How do I get OpenClaw?”
Ans: Use MyClaw.ai
It’s one-click. No setup. No tech skills needed. Made for regular people, not developers.
Join for more update and get real-time alerts here: t.me/DailyKoinUpdate


3 thoughts on “OpenClaw Setup Complete Guide”